Lovely Tennessee

Lovely Tennessee
Showing posts with label recipes. Show all posts

Monday, May 13, 2013

Feta Cheese

I have been making Feta cheese now for over a year.  The flavor is wonderful but I've always wanted to get that crumble texture you get from store bought Feta.  I have finally achieved it.
 
I first start by taking 2 gallons of fresh goats milk and flash pasteurizing it.  Flash Pasteurization is heating your milk to 165 degrees and holding that temp for 15 seconds.  Then I take the whole pot and place it in my sink and fill the sink with cold water and ice cubes.
 
This will cool your milk faster.  Cool your milk to 86 degrees.
 
Milk heating up for pasteurization
 
Once your milk is at 86 degrees, add in your cultures.  I order all of my cultures from www.cheesemaking.com.
 
I add in 1 package of Direct Set Mesophilic and 1/4 tsp Lipase Powder. Let cultures rehydrate for 2 minutes and then stir in gently. Cover milk and let ripen for 1 hour.  Next add in your Rennet.  I use 1/2 tsp liquid rennet added into 1/4 c water.  Stir gently with an up and down motion.  Cover and let it sit for 1 hour.
 
Adding the rennet to the cooled milk
 
Once it has sat for the hour cut the curds into 1/2 inch cubes and then allow to set, undisturbed for 10 minutes.
 
The curds cut
 
Now comes the most work.  Hope you got some muscles.  You need to gently stir the curds consistently for 20 minutes.  I stand at the stove and put my timer on for 20 minutes and just stir away.  Believe me your arm is gonna get tired.  This is when it would be good to have a helper if you have one.
 
Curds after being stirred
 
Now that your done stirring this is where a lot of people would just hang the cheese.  This year I bought a basket mold, also from www.cheesemaking.com.
 
Pour the curds into the molds slowly and as the mold fills up you need to use the back of your hand to push the curds down and to release all the whey that is in there.  I also use a wire mesh colander to help get some of the whey out first and then pour it into the mold and push out even more whey with my hand.  As you can see from the picture below I just put a cooling rack across my sink and put the molds on it while filling.  Any excess whey just goes down the drain. You could also put a bowl underneath if you wanted to collect the whey. 
 
Feta curds in the molds
 
Once you have all your curds in the molds find something that will fit in the top of it, here I used some Tupperware covers.  This is what is called your pusher.  Place this on top of your curds in the molds and then put a quart mason jar filled with water on top of it to help weigh it down and push out even more whey.
 
For the first 2 hours you want to turn the molded curds in the mold every 15 minutes.  After the 2 hours you can turn the molded curds every now and then.  You must leave the curds in the molds with the weights on it for 10-12 hours.
 
That is why i usually start this cheese in the afternoon.  It works out great for timing to let sit overnight.
 
Feta curds being weighted down in the molds
 
The next morning take your Feta Cheese out of the molds.  Below is a picture of what it should look like.
 
Feta just out of the molds

Cut the Feta into large pieces and place in a dish with a brine mixture for 8 hours for 1lb pieces or 4 hours for 1/2lb pieces.
 
Brine mixture can be made by adding 2 cups of non-idolized salt to 1/2 gallon of water then topping up to 1 gallon with water.  Some of the salt will not dissolve, that is okay. This brine can be filtered and reused again for your next batch of Feta.

 
Feta cut up and in brine
 
Once your time is up you need to place your cut cheese pieces onto cheese mats or I just used my cooling rack again.  Cover with a piece of cheese cloth or clean fabric and place in your fridge for 2-3 days, turning your cheese pieces a few times a day.
 
After the aging period is done I just crumble up the Feta with my fingers and keep in an air tight container for up to 2 weeks.  Most of the time it doesn't last that long though.
 
Note:  I do not add any extra salt to my recipe because I add Lipase Powder instead.  Also the brine is heavily salted too.
 
If you aren't going to use your Feta right away you can store it in the fridge in an air tight container in a 6-8% brine.
 
6-8% Brine: 3/4 to 1 cup of non-idolized salt in 3 quarts of water. Make sure all the cheese is covered in the brine leaving no space.  This will help to ensure that no mold with grow on the cheese.

Feta AND it crumbles!!!
 
If for any reason your Feta is too salty for your taste you can let it soak in milk for a few days.


Wednesday, April 3, 2013

Bow Ties with Sausage & Tomato Cream Sauce

Bow Ties with Sausage & Tomato Cream Sauce.
 
First thing I did for this recipe is to put a large pot of salted water on the stove to boil for the pasta. 
 
In the meantime I chopped up some onion and measured out my already minced from the store, love that, garlic.
 
Chopped onion & garlic.
 
Next I opened up my sausage.  I used our own homemade Italian venison sausage.  You can use any type of sausage.  Next time I think we will try our homemade Chorizo venison sausage to give it a little extra spice.
 
package of our homemade Italian venison sausage.
 
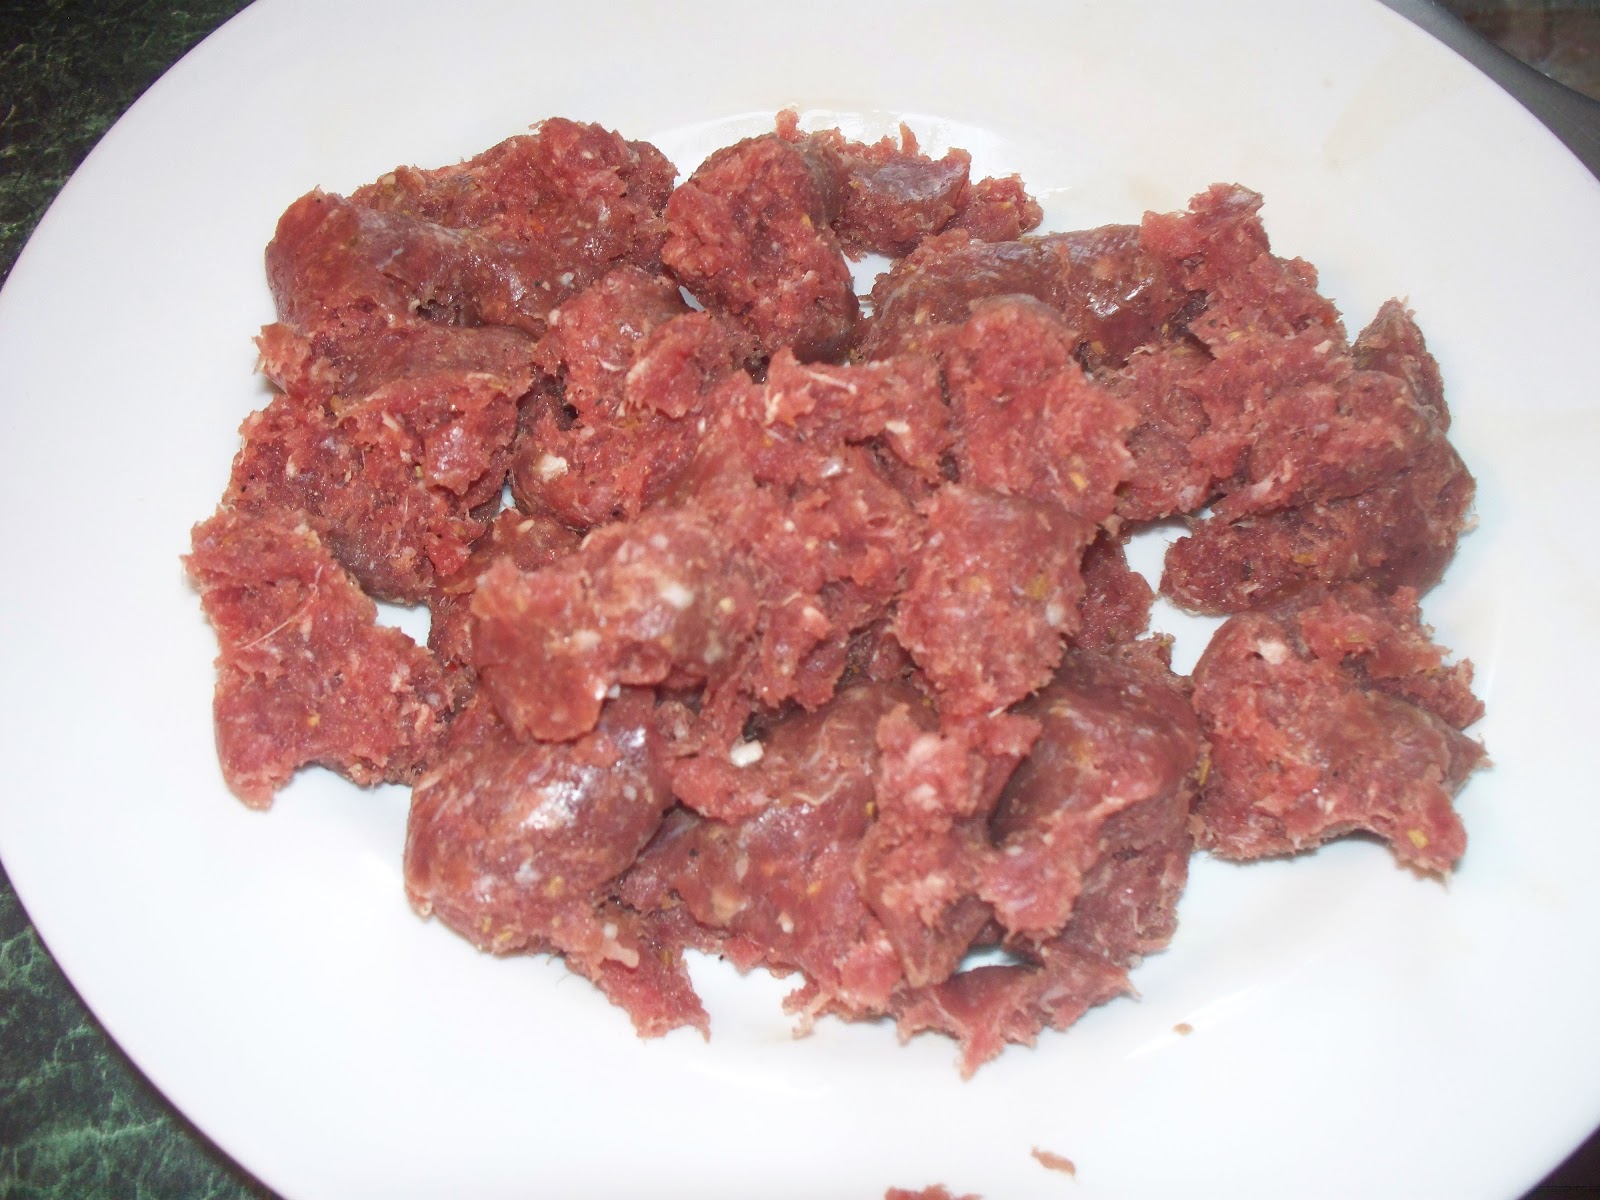
Once the package was opened, I cut open the sausage links and pulled out the sausage out of its casings. 

Italian venison loose sausage.
 
Next add your oil into a large frying pan.  Heat the oil on medium heat and add your sausage and red pepper flakes.  Cook till brown throughout.  Then add your onion and garlic and cook until the onions are tender.
 
Sausage cooked with red pepper flakes, onions & garlic.
 
By now your pasta water should be boiling. Add your pasta to the boiling water and give it a stir.
 
Now back to your sausage. At this point you want to add in your diced tomatoes, cream & salt.  Reduce the heat and simmer until the sauce is the thickness you would like.  Once done pour into a serving bowl and top with parsley.
 
This recipe was really yummy.  I don't like sausage very much but with raising our own pork we have quite a bit of it.  We also make our own venison sausage if it is a good year of hunting.  This recipe was a nice way to cook sausage and have a little bit of a different taste from the tomatoes and cream.
 
The recipe as is below with the red pepper flakes does not make the dish very spicy, just a little bit of heat.  If you want it spicy I would just use hot sausage.
 
Hailey really liked this recipe, which I knew should would because she loves pasta like I do.  Drew thought it was pretty good too put of course being picky he picked out the chunks of tomatoes.  I must be the only person who has a child that loves tomato sauce but not chunks of tomatoes.  Jamie liked it too but he didn't like out the tomatoes were in chunks either.  Maybe next time I will use a smaller can of diced tomatoes and the other replace the other 1/2 with tomato sauce.
 
Either way this was an easy recipe to make, easy to clean up since it only had 2 pot/pan and yummy too. 
 
I'm sure I will be making this again since we will be sending off our two pigs to the butcher soon and will be having lots of sausage.
 
Here is the full list of ingredients and the recipe if you would like to try making it.
 
Ingredients
 
1 (12 ounce) package bow tie pasta

Directions
  1. Bring a large pot of lightly salted water to a boil. Cook pasta in boiling water for 8 to 10 minutes, or until al dente; drain.
  2. Heat oil in a large, deep skillet over medium heat. Cook sausage and pepper flakes until sausage is evenly brown. Stir in onion and garlic, and cook until onion is tender. Stir in tomatoes, cream, and salt. Simmer until mixture thickens, 8 to 10 minutes.
  3. Stir cooked pasta into sauce, and heat through. Sprinkle with parsley

Sunday, March 31, 2013

Sweet & Sour Chicken Meatballs

Do you ever get bored with eating the same old food.  I have a good handful of recipes that we eat a lot in our house that we like but I also get bored with eating them over and over again.
 
So for now I have decided to try at least 1 new recipe a week.  These recipes will be usually for dinner.  I'm gonna try cooking and tasting them first so I can give you my honest opinion on the recipe.
 
The first new recipe we tried was Sweet & Sour Chicken Meatballs.
 
Sweet & Sour Chicken Meatballs simmering
 
The first thing I love about this recipe is I pretty much had everything on hand that the recipe calls for, which was nice.  Helps save on my budget.
 
The next thing I liked about the meatballs was this recipe is basically made in 1 bowl and 1 pan, which is always nice for clean up.
 
I thought the Sweet & Sour Chicken Meatballs dish was yummy.  The recipe calls for you to cook the rice right in the sauce but I think next time I would cook the rice separate since it sucked up all the sauce and I didn't have any extra sauce to put on my meatballs once I cut them with my fork.
 
Everyone in the family liked it too.  Drew, our picky one, thought it was good as long as he picked out the peppers.
 
This recipe was in my opinion better the second time around.  I had some leftovers that I ate for lunch the following day and I thought it tasted much better the next day.
 
All in all a great recipe. Fast, easy and tasty.  We will be making it again I'm sure.
 
Sweet & Sour Chicken Meatballs with steamed zucchini
 
If your interested, here is the recipe.

Ingredients:

Sunday, June 17, 2012

Spicy Pickled Eggs

Spicy Pickled Eggs

We have been getting lots of eggs here.  Almost an egg from each hen a day, so that makes 6 eggs a day.

We usually don't cook eggs for breakfast except on the weekends when we have extra time.  Even then it's not many because Drew still doesn't eat them and I will only eat them scrambled.

With so many eggs I have been looking for other ways to use them up.  I have frozen some for when production goes down.  We have also given some away to friends.  Some of our friends eat them and some of them hatch them since our eggs are fertilized by our rooster.

I decided to try to make spicy pickled eggs.  Bonus part is it used up 4 dozen eggs I had in the fridge.  The recipe below is for a dozen hard boiled eggs but I just doubled the recipe.  I also have 1 hen that lays small eggs, that's why I was able to use 4 dozen for a double recipe.


Step 1 is to hard boil your eggs, let cool and then peel them.

Peeled, hard boiled eggs

Step 2 is to prepare your broth

Here are your ingredients. Combine all of these in a sauce pan:

All ingredients simmering
 
1) 2 Cups of White Vinegar
2) 1/2 Cup of Water
3) 1/2 Cup of White Sugar
4) 1 teaspoonful of salt
5) 1 teaspoonful pickling spice
6) 1 teaspoonful red pepper flakes
7) 4-5 cloves
8) 1 Cinammon Stick
9) 2-3 Habanero Peppers (orange color) cut into rings (discard stems). Include the seeds as well. BEWARE: the oils from the surface of these can really burn. I usually use the grocery bag they come in to hold them while slicing and cleaning. Wash your hands with soap and water after handling them.
10) 2-3 Green Jalapeno Peppers cut into slices
11) 1/2 Red Pepper cut into strips
12) A few rings of a freshly cut White Onion

Allow all ingredients to simmer on the stove for at least 10-15 minutes. Stir occasionally while simmering.  You can also double this recipe and use more than a dozen eggs.
 
Step 3 is Combine Eggs and Broth
 
Remove the broth from the heat and scoop some of the peppers/onions into a Quart sized Mason Jar. Add 3 eggs. Scoop some more of the peppers/onions/spices into the jar. Add 3 more eggs. Continue to add the peppers/onions/spices and eggs. When done, pour the remaining broth into the Mason Jar, using a funnel if you like, to within a quarter inch of the top. You may have some leftover broth, depending on the size of the eggs and peppers, etc. If you are short on broth, just top off with vinegar.  Also if you would like your eggs to taste a little bit spicier you can take a toothpick and push it through the center of your hard boiled egg before you put them in the mason jar.  This way the spicy pickling broth will penetrate the center of the egg faster.

Hand tighten a lid and ring on the Mason Jar and let it cool. Then place it in the refrigerator for 2-3 weeks. This is a long time to wait try them but I'm sure Jamie will love them since he likes anything spicy.

I will make sure to let you all know how they taste.